
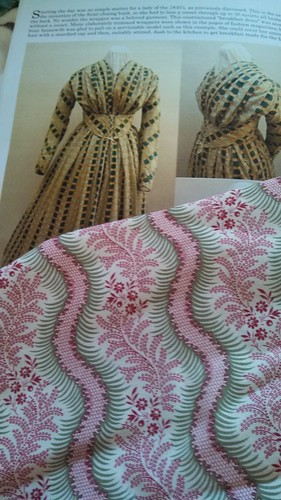
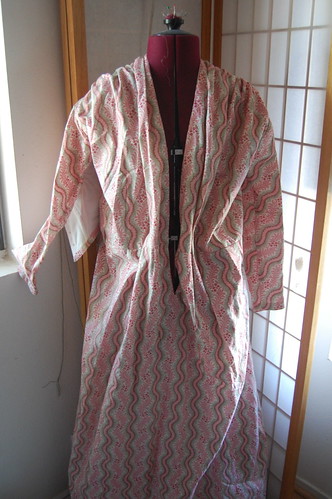
As usual, I started with my 1860s base pattern. The wrapper has a one piece fitted back, two front pieces gathered at the shoulder and loose at the waist, two belt pieces that lace shut over the front pieces, long tight sleeves, and a separate skirt, cartridge pleated in back and flat to the bodice in front. The side seam is left open from underarm to waist. This open seam is covered by the belt.
I've followed the notes with the pattern as closely as possible with a few variations. The original has a hook and eye at the neckline. I closed it with a pin and brooch. I made the sleeves fit so they didn't need a hook and eye, I added a pocket (cell phones you know, mine doesn't fit in my knitted pineapple!), and used eyelets instead of thread covered metal loops for lacing. I also hemmed instead of faced it. Hemming was still done, and it saved time. As I wanted to make two of these in six days, it seemed a reasonable compromise!
Anyway, onto construction!
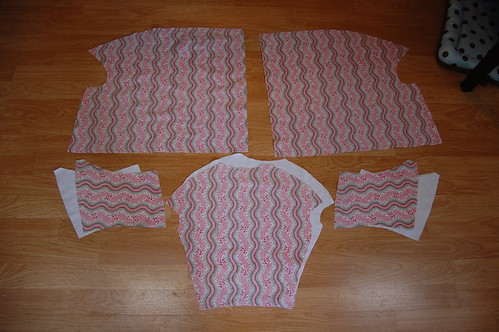
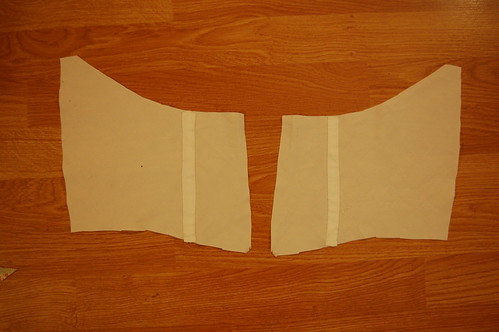
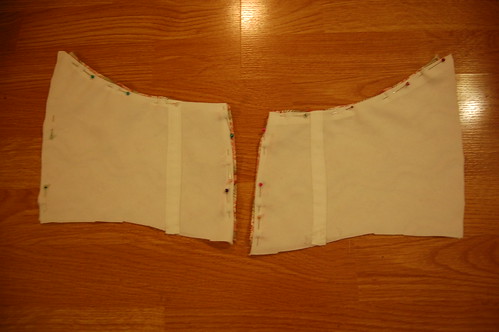
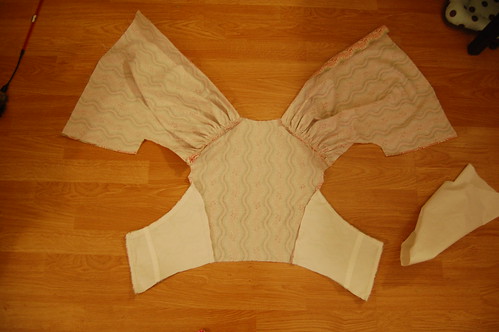
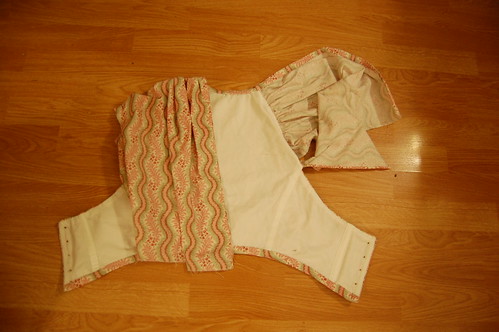
Here are the pattern pieces laid out. The back is lined, the belt pieces are lined, and the front pieces are left unlined.
The fabric belt pieces are piped on the upper and front edges.
The side seam of the front piece is narrowly hemmed, and the shoulder edge is gathered.
The back shoulders--fabric only--are piped.
Boning casings and boning are added to the belt lining. There is also boning at the center front. If you're using loops instead of eyelets, go ahead and add a boning casing there. For mine, I used the eyelets to hold the boning in place as on my original Swiss waist.
Now, fold the edges of the lining in, and whipstitch it to the fabric lining. This creates a lined belt with no raw edges. You'll deal with the bottom of the belt in just a bit.
Sew the belt to the back side seams.
Pull up the gathering threads, and sew the shoulders.
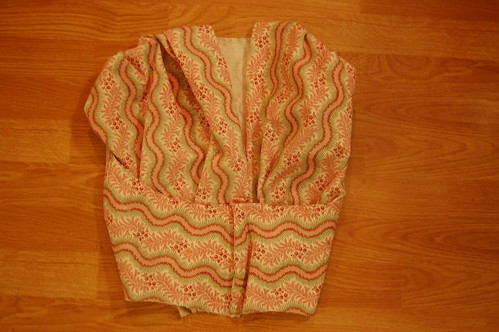
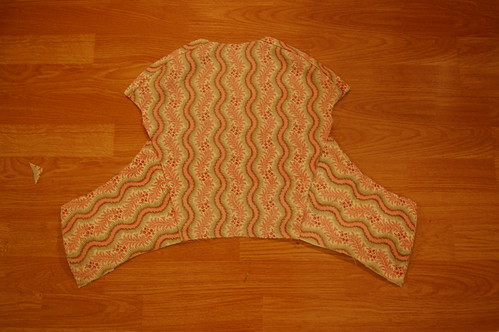
If you fold the shoulders down, you can see that it's starting to look like a bodice! Sort of :)
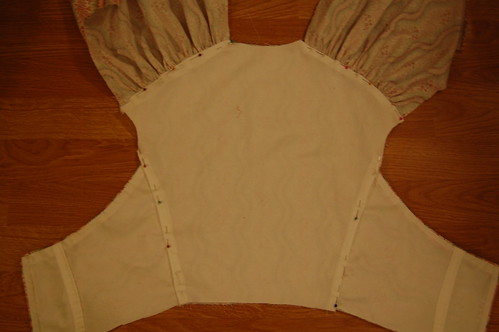
Now, fold the edges of the lining down, and whipstitch into place. On the bodice side back seams, there's a a little room above the belt. Just fold the seam allowance in and whip the lining to it.
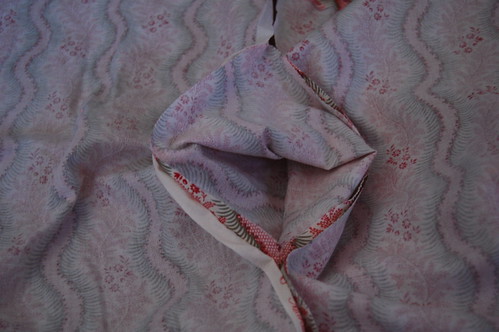
This is not mentioned in the notes, but I couldn't imagine piping and setting the sleeves without this. Sew the little bit above the belt to the front of the bodice to create a short underarm seam. To do this, I laid the bodice front and back right sides together and whipped them together from the top of the seam to the top of the belt. The bodice seam is left open under the belt.
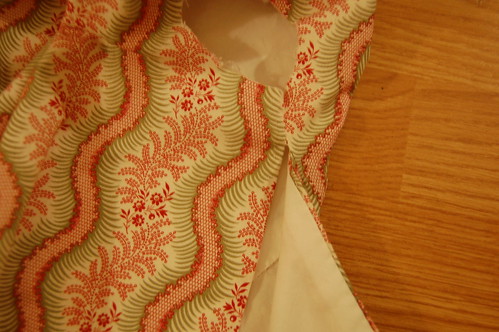
Next, more piping! Pipe the bottom edge, across the belt pieces and center back. Finishing them together gives it much needed stability. Pipe the armscyes. Pipe the neckline from a few inches above the waist, around the back, to the same place on the other side. You don't want to pipe all the way down. The center front is going to attach to your skirt opening, which will be hemmed. You wouldn't want to pipe that, as you want the opening to disappear in the folds.
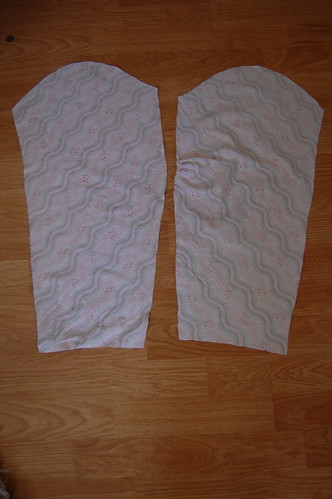
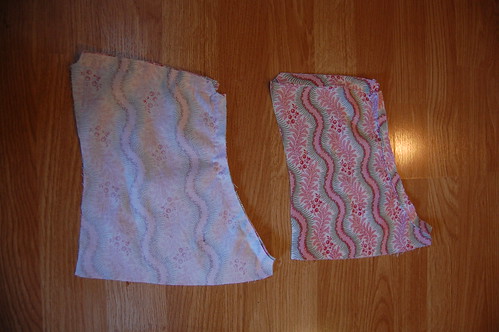
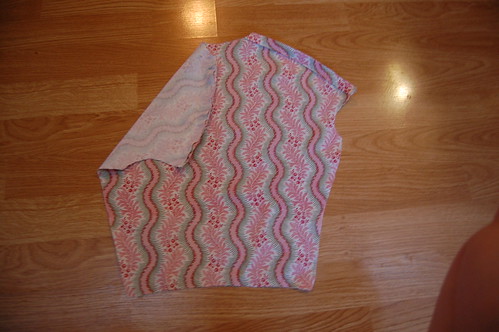
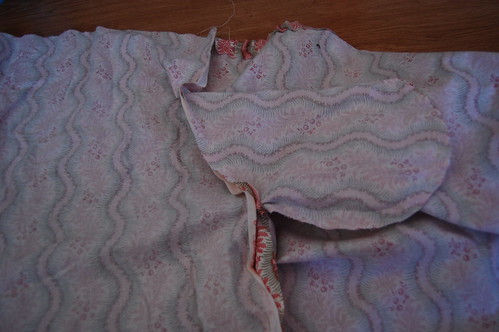
The sleeves are straightforward bias cut sleeves with a little bit of gathering at the elbow. You can see one gathered and one ungathered sleeve here. They are lined in the original, but I chose not to line them as it was going to be about 90 degrees when I wore the wrapper. In the original, the seam is left open a little to allow for a cuff opening and closes with a hook and eye. I chose to make it wide enough so I didn't need this. In either case, the cuff is finished with piping. When they're done, set the sleeves in the usual way.
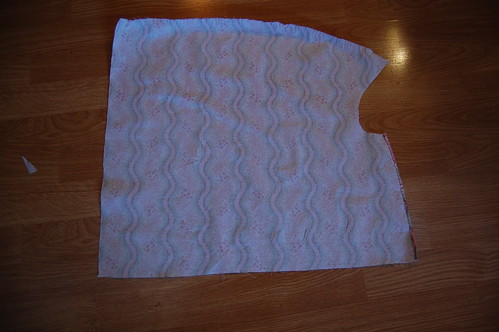
Now we're on to the skirt! My skirt is almost three panels of fabric. There are two panels in the back, and nearly a full panel in the front. I had to cut my front pieces a little narrower than one width of fabric.
The front panel should match your front pieces in width. You're going to sew the top of the skirt to the bottom of the bodice with no gathering. You need to cut a slit in the center of the panel. It doesn't need to be very long, just long enough so you can comfortably get the wrapper on and off. It does need to line up with the bodice opening, of course!
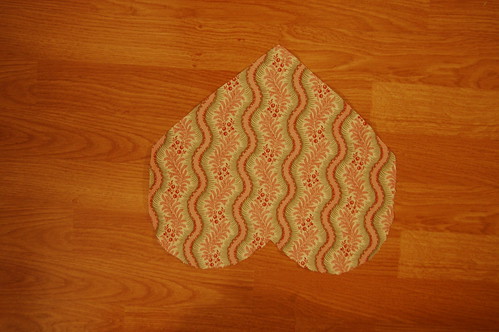
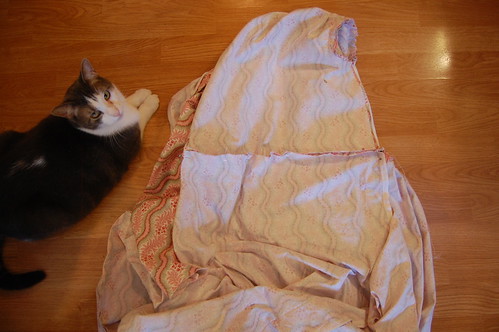
Here's the pocket--the original did not have one. It's taken from an 1880s dress I own. It is a little on the small side, but I thought it would work better with this style of skirt than my usual huge pockets. Sew the curved part, starting about 1/2 an inch from the edge.
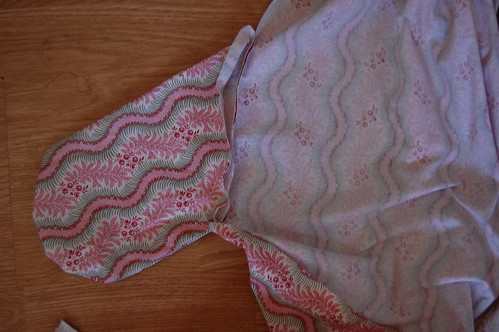
Sew it right side to right side to the back of the skirt.
Sew it right side to right side to the front of the skirt. Sew the skirt seam after this. Make sure the pocket is pulled to the inside of the skirt before you do!
Before you sew the side seams, fold down the back top of the skirt to prepare it for cartridge pleating. I'm not sure the original was done this way, (I don't think it did, as the front had a little hemmed extension that I left out) but I did it this way by accident, and it worked really well. This means the front of the skirt will extend past the top of the back. This extra will become the seam allowance to sew the front of the skirt to the bodice. (As a variation, on my second dress I made the front pieces shoulder to hem and ignored the skirt seam--no pictures of that though!)
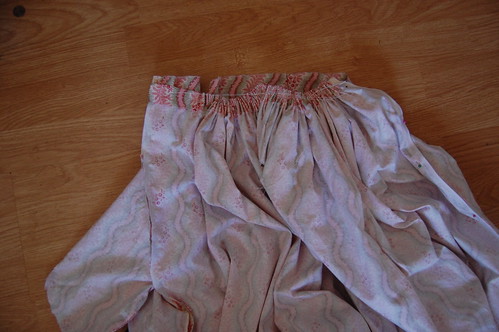
Cartridge pleat the back of your skirt.

Sew it to the back of the bodice. This should all fit on the bodice back itself--not the belt.
Pin the front skirt to the front pieces, and sew. You're almost done! At this point, all that's left is eyelets on the belt, hemming, and finishing hemming the bodice front and skirt slit.

And two quick pictures to show how it works. It's just lightly pinned in the second picture.
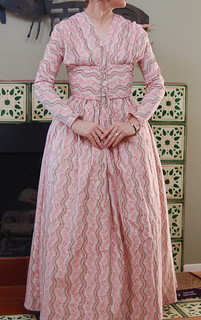
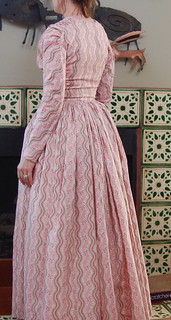
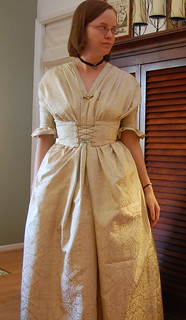
Here are the pictures just as I finished the wrapper. I made two, one for day wear, and one for evening wear (not accurate, but I do have an excuse!). I shortened the belt on the second wrapper a bit, which meant it laced shut very easily with room to spare since it was stretchier so I had to cut it down a bit, which explains the bigger gap. Here's the post for the finished dresses!
oooh, I had no idea that the belt wasn't separate to the dress. So pretty :D
ReplyDeleteDear Katherine,
ReplyDeleteHow fascinating. Have never seen such a garment, though its cut is quintessentially 1840s. It's also quintessentially practical, and frankly, somewhat shortened, would make a super, and super-unusual, dress for today.
Both of them that you are terrific. Hoping your coughs subside. Really uncomfortable.
Very best,
Natalie (aka ZipZip)
Gracious, what a garbled last line: what was I thinking? Meant to say, "Both of them are terrific on you."
ReplyDeleteVery best again,
Natalie
Hi, Katherine, I was wondering i see you have the pieces all laid out, but how will i measure them to real size? Im a intermediate seamstress, and im looking into learning how to sew clothes like the one portrayed above. But i am not sure how to do this to my size? Is that a possibility?
ReplyDeleteHi! I not only love all the work you've done, but I also really admire it! I spent about 4 hours yesterday pouring over your photographs and tutorials. I was wondering if you might have any insight on how you could visually differentiate between a wrapper and a more traditional dress in old photographs besides the obvious loose gown. And what generalizations could be made concerning the different closure types for wrappers and dresses. It looks like you sewed a gown with a half belt, but historically what were the other closure means for more fitted wrappers besides integral belts? Hook and eye? Button? Ties?
ReplyDeleteAlso, I think your evening wrapper was quite appropriate and not at all informal! Its the material and accessories that made the wrapper style so versatile, and your green silk was a stunning choice!